

Whether you want to achieve a tan minus the sun-exposure, a bronzed boost or if you’re anything like me – you just want to constantly look one step above anaemic ghost – a self-tan could be for you.
Self-tanning products with their dramatically improved formulas, have come a long way from the days of making you look a nice shade of carrot. A natural-looking tan is now easily achievable by all. In my book, the safest and most sensible tans come from a bottle!
Here are 5 super-easy steps on your journey to achieving bronzed-goddess status…
Disclosure: self-tanning advice contains affiliate links. I may receive a commission if you visit a link and buy something on my recommendation. Purchasing via an affiliate link is at no extra cost to you, but does help me fund this site. All opinions expressed within are my own. For more details see my disclaimer here.
– Preparation –

Before that self-tan even touches your body, it’s super critical to have put in some effort to prepare your skin to absorb the product well. The first step is exfoliation.
Massage an exfoliating product such as Sanctuary Spa Body Scrub into your skin using circular motions and rinse thoroughly. This will help to slough off any dead skin cells which the tan could cling to creating dark patches.
For excellent body exfoliation, use an exfoliating mitt. I highly recommend exfoliating on a weekly basis, regardless of whether you plan to self-tan or not.

Good to Know: Exfoliation is great for boosting your circulation, helping with cellulite, preventing ingrowing hairs and minimising any breakouts on your body.

Now you’re freshly glowing and towelled off, it’s time to apply an all-over body moisturiser …
Again, it’s highly recommended to moisturise fully after every shower. Regardless of whether you plan to self-tan – or even if you’re not exfoliating – moisturising helps to keep your skin soft and looking youthful.
Something important to note :
I’ll talk more about self-tan products in the next section, but if you’re only planning on using a moisturiser which contains self-tan – whilst in this instance, you won’t need to apply a regular moisturiser all over – it’s important to still use a moisturiser on areas with particularly dry/hard skin, such as the tops of your feet, kneecaps and elbows. By giving extra moisturising attention to these areas you’ll stop the tanning agent from catching, which could result in an uneven tan.
– Picking the right product –
The right product for you will depend on the type/level of tan you require. There are predominantly two types of at-home tanning product – the full-on self-tanner and the moisturiser with a hint of self-tan.
If you’re completely new to the world of self-tanning, the body moisturisers with a hint of self-tan are a great (and easy) place to start. Usually available in two shades, light to medium and medium to dark. Like a full-on self-tanner, you can increase the darkness of the tan by applying daily to build colour.
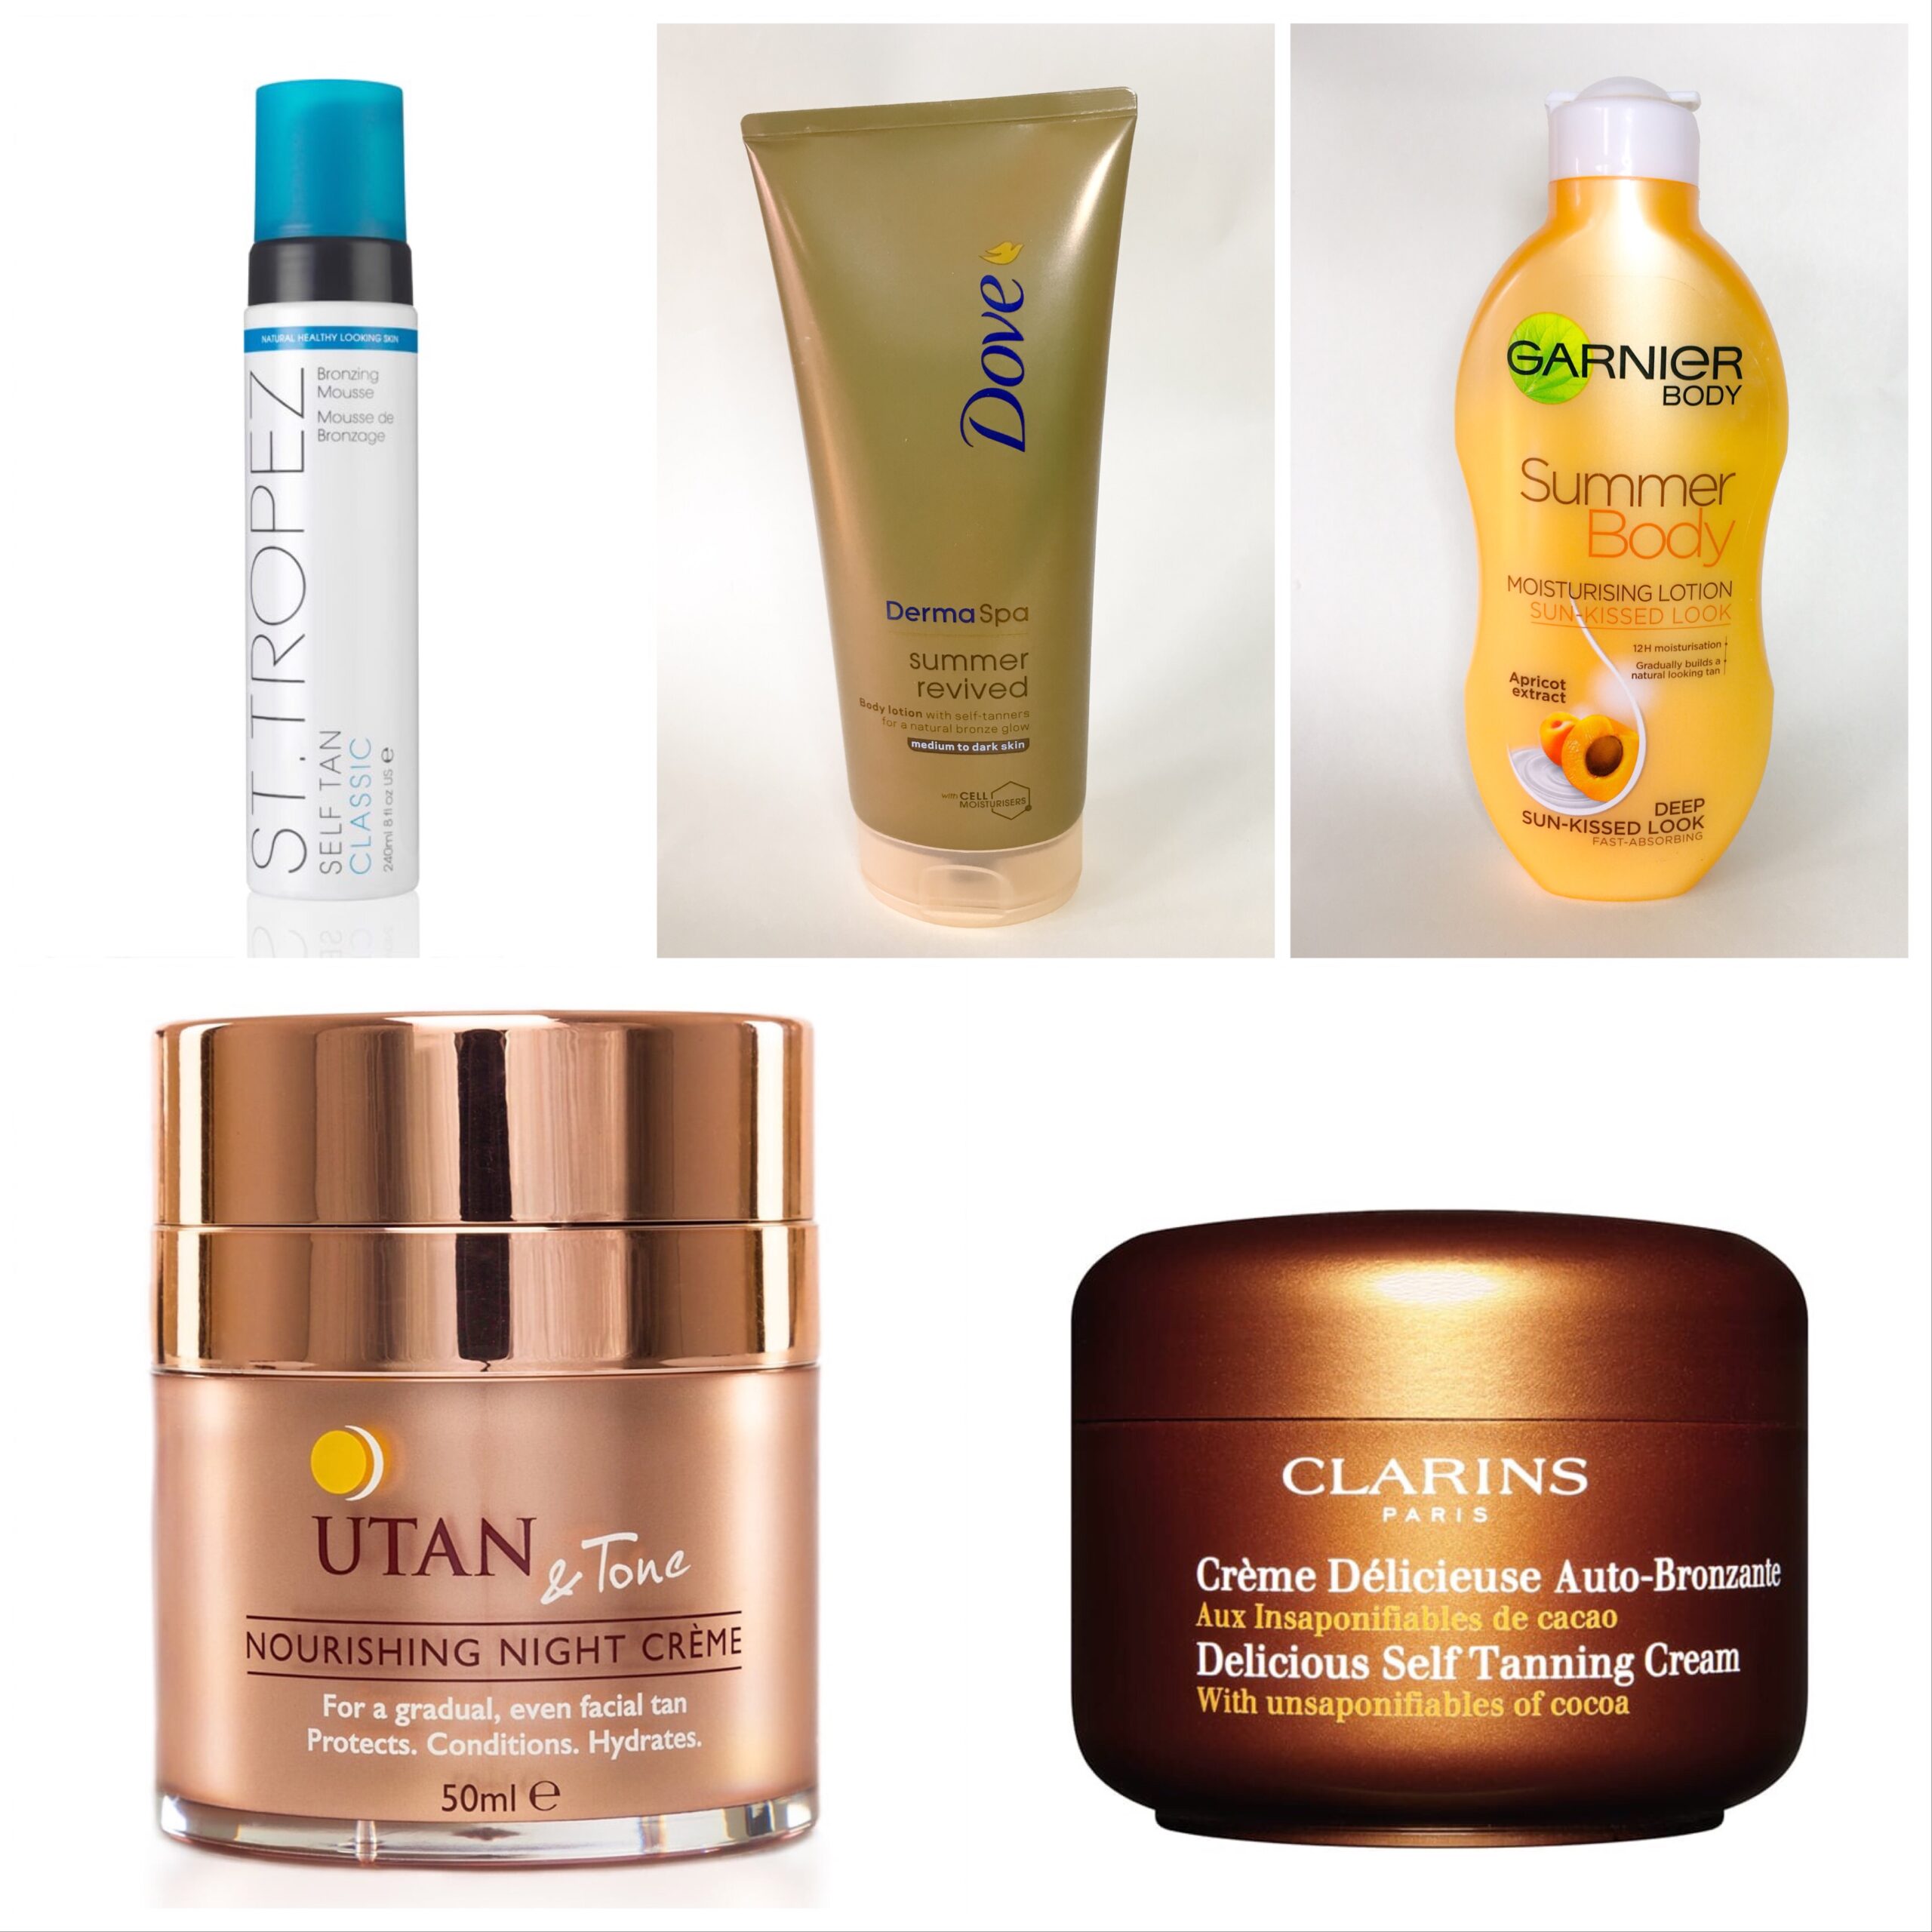
Want to discover some great self-tanning products? Read: Recommended: Self-Tanning Superstars
However, for those wanting to look like they’ve instantly stepped off the plane following a two week holiday to the Bahamas (other dream destinations are also available) then a full self-tanning lotion, gel, mousse (or even spray) is for you.
There are a wealth of products to choose from, I’ve recommended my favourites here. My advice would always be to try to select a self-tanner that has a hint of colour on application, this is a great visual guide for you to be confident you’ve applied evenly to all areas.
Top Tip: Remember self-tans dry darker so always apply in layers. Allow each layer to fully develop before applying the next.
– Cover your tracks –
To keep the origins of your tan a well-kept secret, you need to ensure you’ve covered your tracks. For me, the tell-tale signs a tan came from a bottle are orange palms or tan sleeves (brown arms and white hands)
To avoid orange palms (when using a full-tanner) apply wearing a tanning mitt
. However, once you remove the mitt, you run the risk of the aforementioned tan sleeves.Top Tip: Use a foundation or powder brush to easily blend tanning product over the backs of your hands.

If you’re applying a moisturiser with a hint of tan, a mitt isn’t really necessary. I would recommend rubbing a warm damp flannel across your palms after application just to be on the safe side.
With any self-tanning product, avoid applying too much to the hard-skinned areas such as kneecaps and elbows. Instead, just gently sweep your fingers over them. Additionally, work methodically when applying a self-tan product to your body. Either start from the toes and work your way up or from your top downwards – this will give you confidence that you’ve covered everywhere.
Top tip: if you’re concerned about the product staining any bare nails, just sweep a cotton pad saturated with nail polish remover over them to thoroughly eliminate any trace of tanning product.
Finally, don’t forget your face and ears.
I would always recommend using a specific self-tan designed for use on the face. A body self-tanner applied to the face could clog pores and cause breakouts. For my facial self-tanning recommendation see: Recommended: Self-Tanning Superstars. Applying bronzing powder will help to create a uniform tan across your face and body.
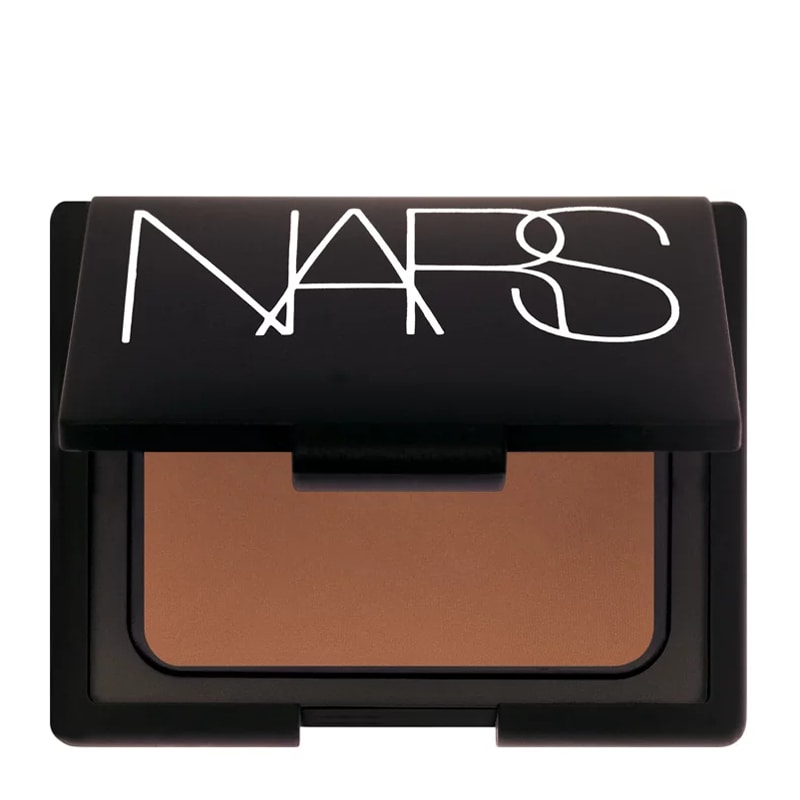
Want a great bronzing powder? Read: Recommended: Nars Bronzing Powder
Good to know: Applying self-tan like a pro takes practice. Make sure you practice your at-home tan in advance. Don’t use a new product the day before a big occasion or holiday – There’s a big risk that it could go wrong.
– Schedule it well –

You need to allow yourself adequate time to dry before getting dressed. Getting dressed too soon after application will ruin your tan. I find application at night works best, giving the longest time before shoes and tighter fitting clothes need to be worn.
The self-tanning moisturisers do dry very quickly allowing for application in the morning. However, if you have to apply a full-tan in the morning, try to wear as loose fitting clothes as possible and avoid anything more than wearing flip-flops on your feet.
– Maintenance –
To keep your self-tan looking lovely and natural – just like you started – you need to continue with some maintenance. I’m talking scrubbing and moisturising again (it’s come full circle hasn’t it!) Exfoliating will keep the tan looking even and natural, whilst moisturising will help to prolong it’s life.

Good to know: Remember that self-tan doesn’t contain SPF (or rarely does) so it’s essential to apply a separate sunscreen to keep you safe in the sun!
Related: Staying Sun Savvy – A Complete Guide to Sunscreen & SPF

I hope you’ve found my self-tanning advice helpful? Do you like to self-tan? Is this something you do all year round or just in the warmer months? Want to share any of your best self-tan tips? Do you have any questions on achieving a great self-tan? Just get in touch via the comments section below – I’m happy to help and I always love to hear from you!


Pingback: Recommended: Self-Tanning Superstars
keep sharing, smiling…
Pingback: Recommended: Self-Tanning Superstars - Living.Pretty.Happy
Pingback: Paraben-free beauty: What are parabens & do you really need to be free of them? - Living.Pretty.Happy